Institutional Setup Guide

Financial Institute Onboarding

A step-by-step interactive manual for managing your institution's profile.

Phase 1: Creation

Registration Screen
Organization Name Required
The official legal registered name. This name will appear on all merchant communication.
Organization Type Required
This classification defines your institution's operational scope. It must be set to "Financial Institute" to activate Financial-Grade (FAPI 2.0) security protocols and enable the management of soundbox devices and M2M API integrations.
VAT / CAC Required
Your institutional identity must be anchored by either a VAT Number (Value Added Tax) or a CAC Number (Corporate Affairs Commission). Use the Select dropdown to choose the identifier type, then enter the corresponding number in the adjacent field. Providing at least one is mandatory for KYC and technical verification.
Address Details Required
Complete institutional presence data required for legal anchoring.
Address Line 1
City
State
Post Code

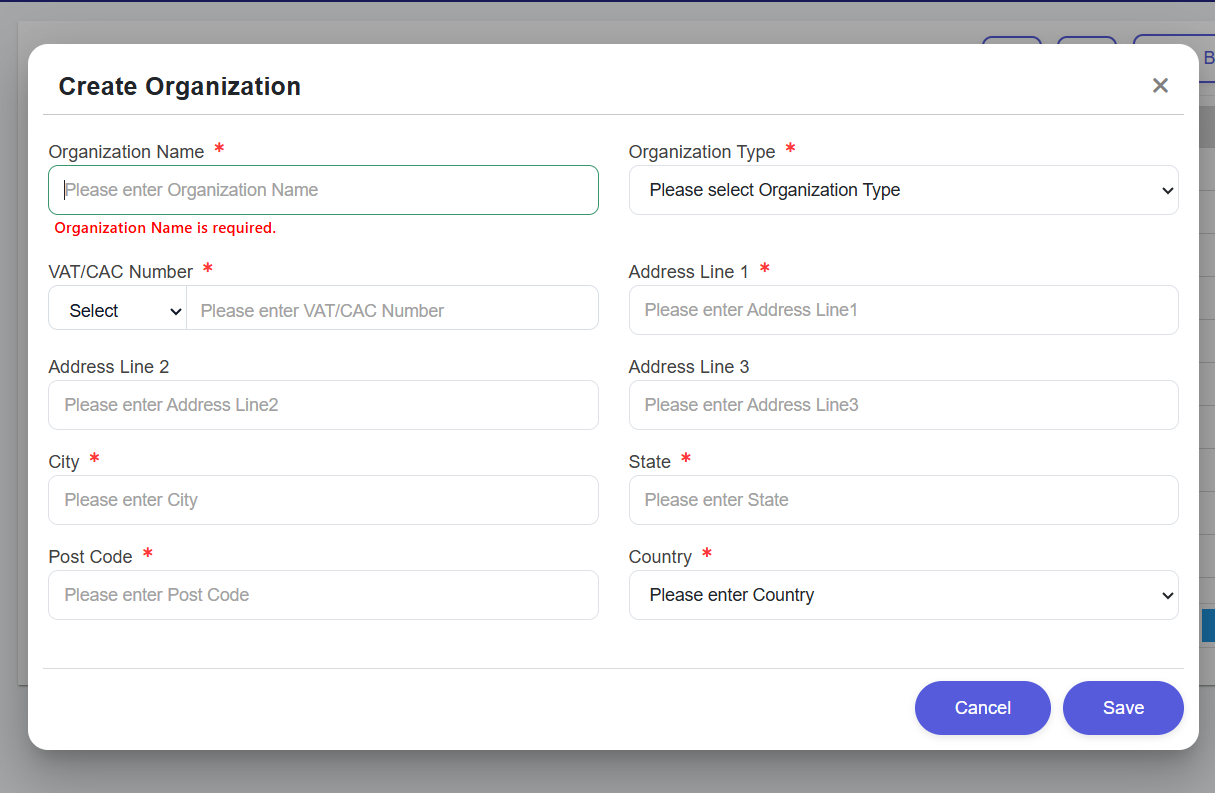
Address lines 2 & 3 are optional. Country defaults to the onboarded region.

Phase 2: Profile Management

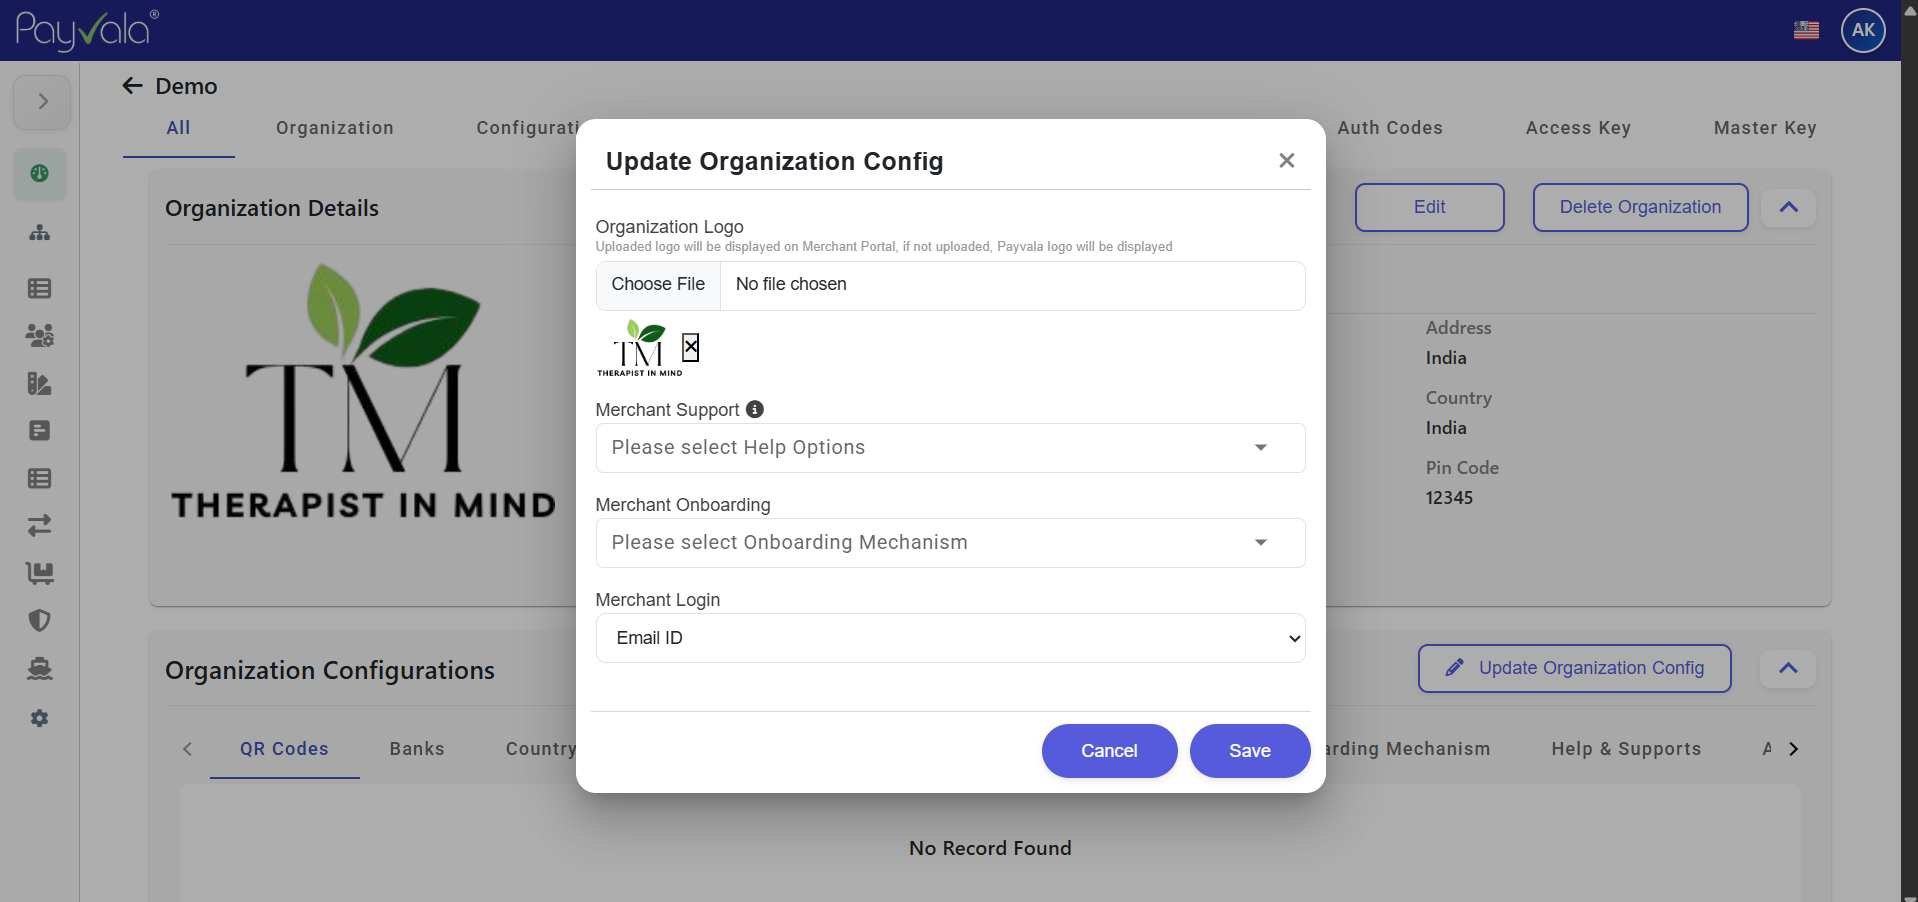
Once created, you can manage your institutional metadata and logo via the Details Page.

Details View
Institution Logo
Click the Pulse Circle on the Logo to simulate the update flow.
Standard: 512x512px. Updating the logo immediately syncs your branding
Save Action
Save Changes

Direct Action: When clicked, the portal validates the form and commits edits to the database. Try clicking it here to see the feedback!

Cancel Action
Discard Edits

Safety Discard: Reverts the form to the last saved state. Hover to see the warning color, or click to simulation discarding.

Profile Management
Includes Country selection, Contact Person names, and secondary metadata. Use Save to make any change permanent.
Action Successful!